


XP DEUS II Tempered Glass Screen Protector for WS6 Wireless Headphones + Cleaning Kit
Tax included.
Shipping date is being calculated...
D2-WS6-GO-003
Description
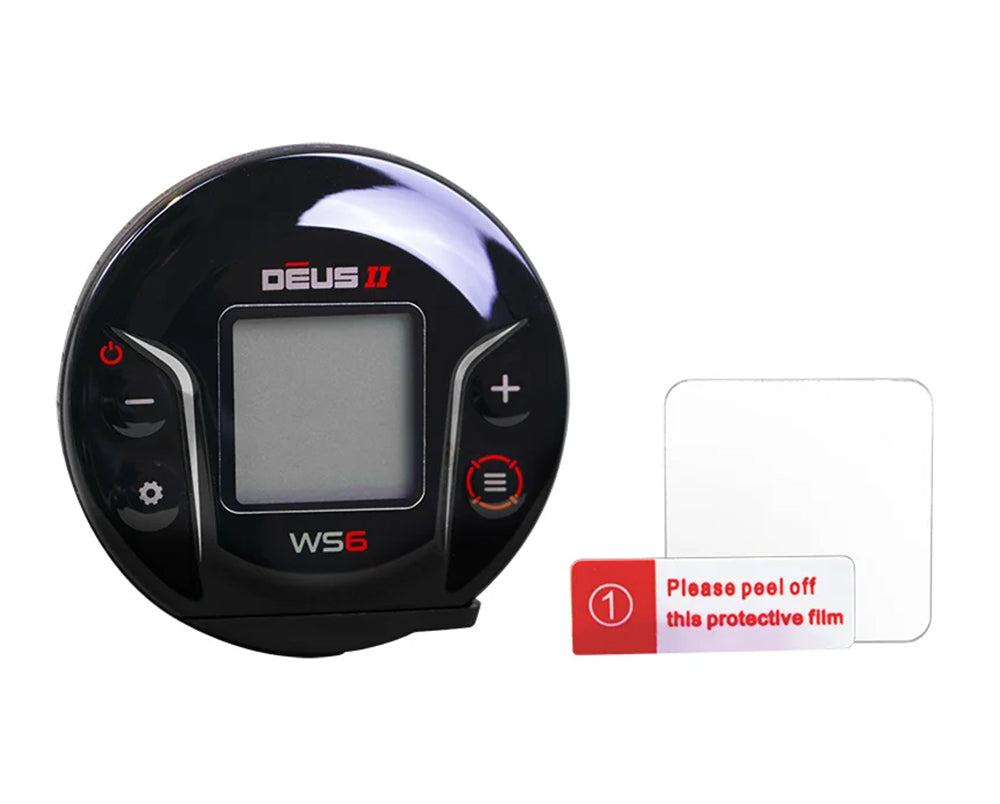
The ultimate display protector for the XP DEUS II WS6.
The tempered glass looks high-quality when attached and protects the remote control's display safely and discreetly from scratches.
Installation Instructions:
The tempered glass looks high-quality when attached and protects the remote control's display safely and discreetly from scratches.
Installation Instructions:
- Step 1: Clean the display (alcohol and cleaning cloth are included).
- Step 2: Remove dust with the black dust absorber (dust absorber is included).
- Step 3: Place the glass on a firm, clean surface with the front/text facing down.
- Step 4: Attach one or two guide stickers (guide sticker included) as desired anywhere on the non-adhesive side (back).
- Step 5: Carefully remove the protective film from the glass and lower the glass precisely onto the display with the adhesive side down, using the guide stickers.
- Step 6: Press the protective glass down with light finger pressure from the center outwards. Done!
Specifications
Scope of delivery
Manufacturer
Documents
The ultimate display protector for the XP DEUS II WS6.
The tempered glass looks high-quality when attached and protects the remote control's display safely and discreetly from scratches.
Installation Instructions:
The tempered glass looks high-quality when attached and protects the remote control's display safely and discreetly from scratches.
Installation Instructions:
- Step 1: Clean the display (alcohol and cleaning cloth are included).
- Step 2: Remove dust with the black dust absorber (dust absorber is included).
- Step 3: Place the glass on a firm, clean surface with the front/text facing down.
- Step 4: Attach one or two guide stickers (guide sticker included) as desired anywhere on the non-adhesive side (back).
- Step 5: Carefully remove the protective film from the glass and lower the glass precisely onto the display with the adhesive side down, using the guide stickers.
- Step 6: Press the protective glass down with light finger pressure from the center outwards. Done!
Customer Reviews