


XP DEUS II Tempered Glass Screen Protector
Tax included.
Shipping date is being calculated...
D"-RC1-GO-004
XP DEUS II Tempered Glass Screen Protector
Sale price10,50 €
Description
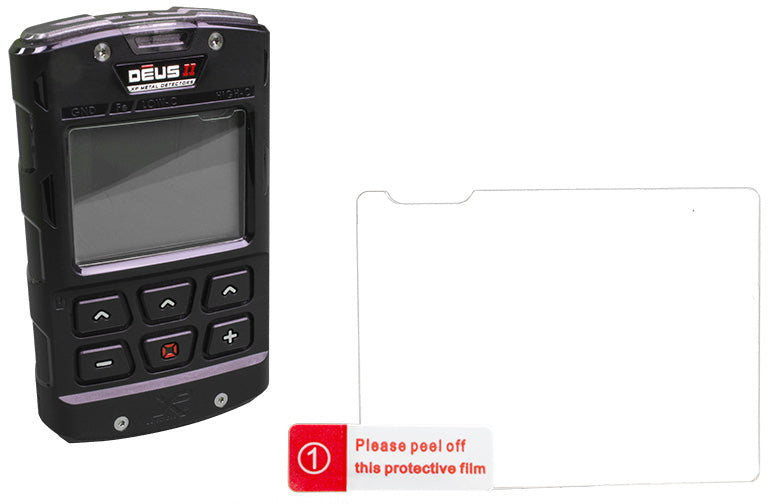
The ultimate screen protector for the XP DEUS II remote control - custom-fit tempered glass to attach. If the display is already scratched, most scratches will become invisible after attaching the glass!
The tempered glass looks high-quality when attached and protects the remote control's display safely and discreetly from scratches.
Installation instructions:
The tempered glass looks high-quality when attached and protects the remote control's display safely and discreetly from scratches.
Installation instructions:
- Step 1: Clean the display (alcohol and cleaning cloth included).
- Step 2: Remove dust with the black dust absorber (dust absorber included).
- Step 3: Place the glass on a firm, clean surface so that the cutout of the protective glass is in the upper right.
- Step 4: Attach two guide stickers (guide stickers included) anywhere on the non-adhesive side as desired.
- Step 5: Carefully remove the protective film from the glass and lower the glass precisely onto the display with the adhesive side facing down using the guide stickers.
- Step 6: Gently press the protective glass from the center outwards with your finger. Done!
Specifications
Scope of delivery
Manufacturer
Documents
The ultimate screen protector for the XP DEUS II remote control - custom-fit tempered glass to attach. If the display is already scratched, most scratches will become invisible after attaching the glass!
The tempered glass looks high-quality when attached and protects the remote control's display safely and discreetly from scratches.
Installation instructions:
The tempered glass looks high-quality when attached and protects the remote control's display safely and discreetly from scratches.
Installation instructions:
- Step 1: Clean the display (alcohol and cleaning cloth included).
- Step 2: Remove dust with the black dust absorber (dust absorber included).
- Step 3: Place the glass on a firm, clean surface so that the cutout of the protective glass is in the upper right.
- Step 4: Attach two guide stickers (guide stickers included) anywhere on the non-adhesive side as desired.
- Step 5: Carefully remove the protective film from the glass and lower the glass precisely onto the display with the adhesive side facing down using the guide stickers.
- Step 6: Gently press the protective glass from the center outwards with your finger. Done!
Customer Reviews